A lot has changed in the world since we started this Tap Forms Project series. I hope you and your family are able to stay safe during this pandemic. I've worked on Tap Forms from home for the last 11 years, so my family and I are thankfully doing ok.
Keeping things moving in this inaugural Tap Forms Projects: build a CRM series, I want to explore a few ways to find and view the contact data you care about. This will touch on features like Views, Custom Layouts, and Saved Searches, as well as how these features work across Mac, iPad, and iPhone.
If you’re new to the Tap Forms Projects series, don’t worry, it’s new too! I regularly get requests about ways to build various projects and how best to use certain features. With Tap Forms Projects, I will actually build a variety of projects across industries, and explore features and ideas for how to build what you need.
For this first series, I’m building a CRM, or customer relationship management tool. The name may sound specific to an industry or job, but CRMs can be useful to everyone from researchers to businesses to regular folks who want a more flexible digital rolodex. Get caught up with part 1 and part 2.
Now, let’s start bending your CRM data to your will.
Get a different View
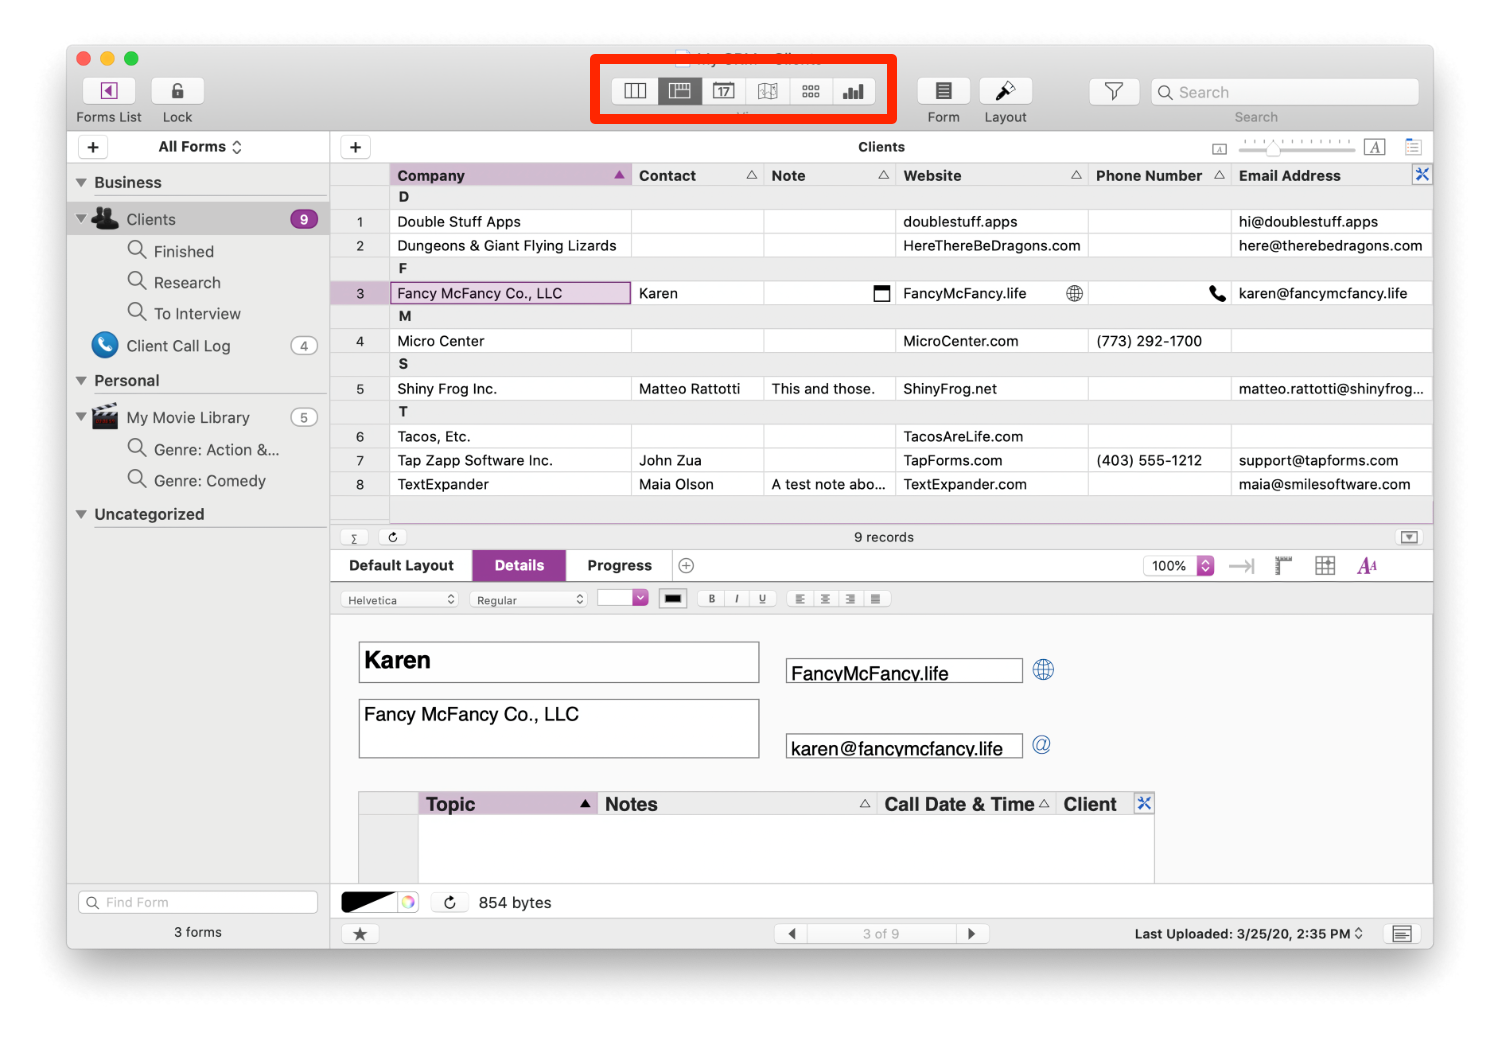
Tap Forms for Mac has a variety of built-in Views to get a different perspective on your data.
The Multi-Column View is data-dense like a spreadsheet, which is good for a condensed, column view of your contacts. If you add dates to your contacts (perhaps for when you met them), the Calendar View offers a time-based view of your meetings.

For contacts with addresses, the Map View visualizes them by location. You get three guesses as to what the Photo Grid View does. The Chart View could be useful for people who track any kind of quantifiable field types for their contacts, such as meeting time, revenue, or product sales. It displays quantifiable data in bar, line, or pie charts.
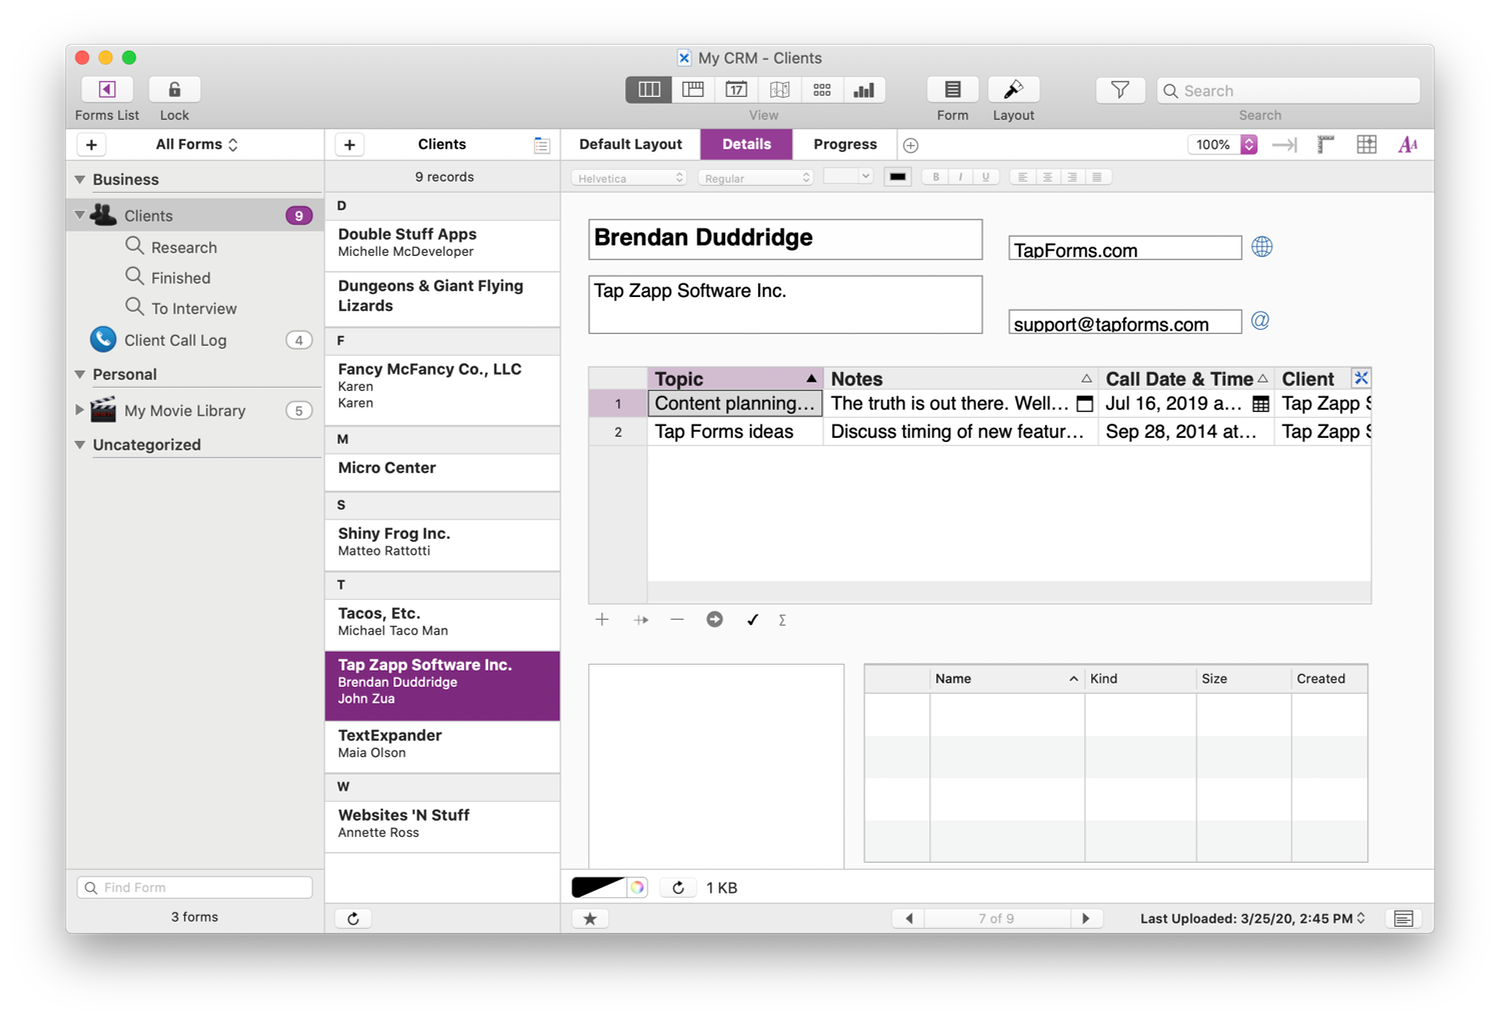
On iPad and iPhone, the available views are List (the default), Multi-Column, and Photo Grid.
Focus on the details with Custom Layouts
Custom Layouts allow you to create a view of just the information you need from each entry in a form. It’s a powerful way to focus on particular details of your data and overall project.

For our CRM project, let’s say you record a lot of details about your contacts and local businesses including basic contact information, addresses, open hours, notes, and call logs. But when viewing a contact, you only want to see their first, last, and (optional) business name, email, phone, and website. Custom Layouts to the rescue.
How to create a Custom Layout
To start building your own layout, click the List View. Just below the toolbar at the top of Tap Forms is a tab bar, and the first tab is called Default Layout. Click the plus button next to it for your very own blank layout canvas. Next:
- Select a contact in the left column with data filled in.
- Click the Layout button in the top toolbar to display the Layout Inspector panel on the right.
- At the top of the inspector panel, give this layout a relevant name.
- Drag fields from the bottom of that panel onto your new layout.
- Play with organizing fields that you care about.
- When you’re finished, click the Layout toolbar button again to dismiss the layout inspector panel. You can now edit the data in the fields.
Creating one or more Custom Layouts is a powerful way to focus on important aspects of your CRM and all your other forms.
Save your searches
Another way to slice through your data in Tap Forms is Saved Searches. In the context of this CRM project, a Saved Search would be a great way to filter your form for, say, contacts in a geographic location, whether people have been interviewed for a project, sales goals, or any other factors you’re tracking.
How to create a Saved Search

- Click the form in the sidebar you want this search to focus on.
- Click the Advanced Search button in the top toolbar, next to the search box.
- Add a relevant title and, optionally, a description. Tap Forms will generate a title for you based on the first rule specified if you don't provide a title.
- In the Search Rules section, use the first listed rule to pick one of the fields in your form, then enter a search term in the text box. Try something like a geographic location, or other piece of data found with some of your contacts.
- Click Save

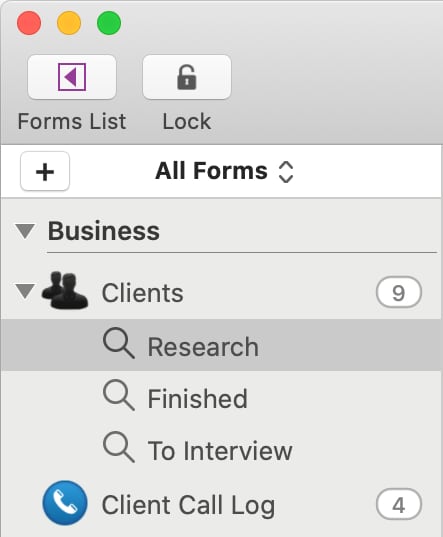
Note that the Saved Search appears in the sidebar below your selected form, and is automatically highlighted. Saved Searches update in real time as you add and edit records, which makes them a great way to focus on specific details as a form grows.
How does this all translate to iOS
Some of the features covered in this post do sync to and work on iPad and iPhone, though not all. Here’s a quick rundown:
- Saved Searches do sync and work on iOS. They're available on the records list view by tapping on the filter button.
- Some views are not available on iOS. Particularly, the map, calendar, and chart views. The List, Multi-Column, and Photo Grid views are available on iOS.
- Custom Layouts aren’t supported on iOS.
Next up
I hope these ideas help you to make better use of your data in this CRM and other projects. In part four, we’ll explore ways to print, export, and share your data to other apps.
If you need to catch up on the series, check out part 1 and part 2.
Tags: Tap Forms Projects